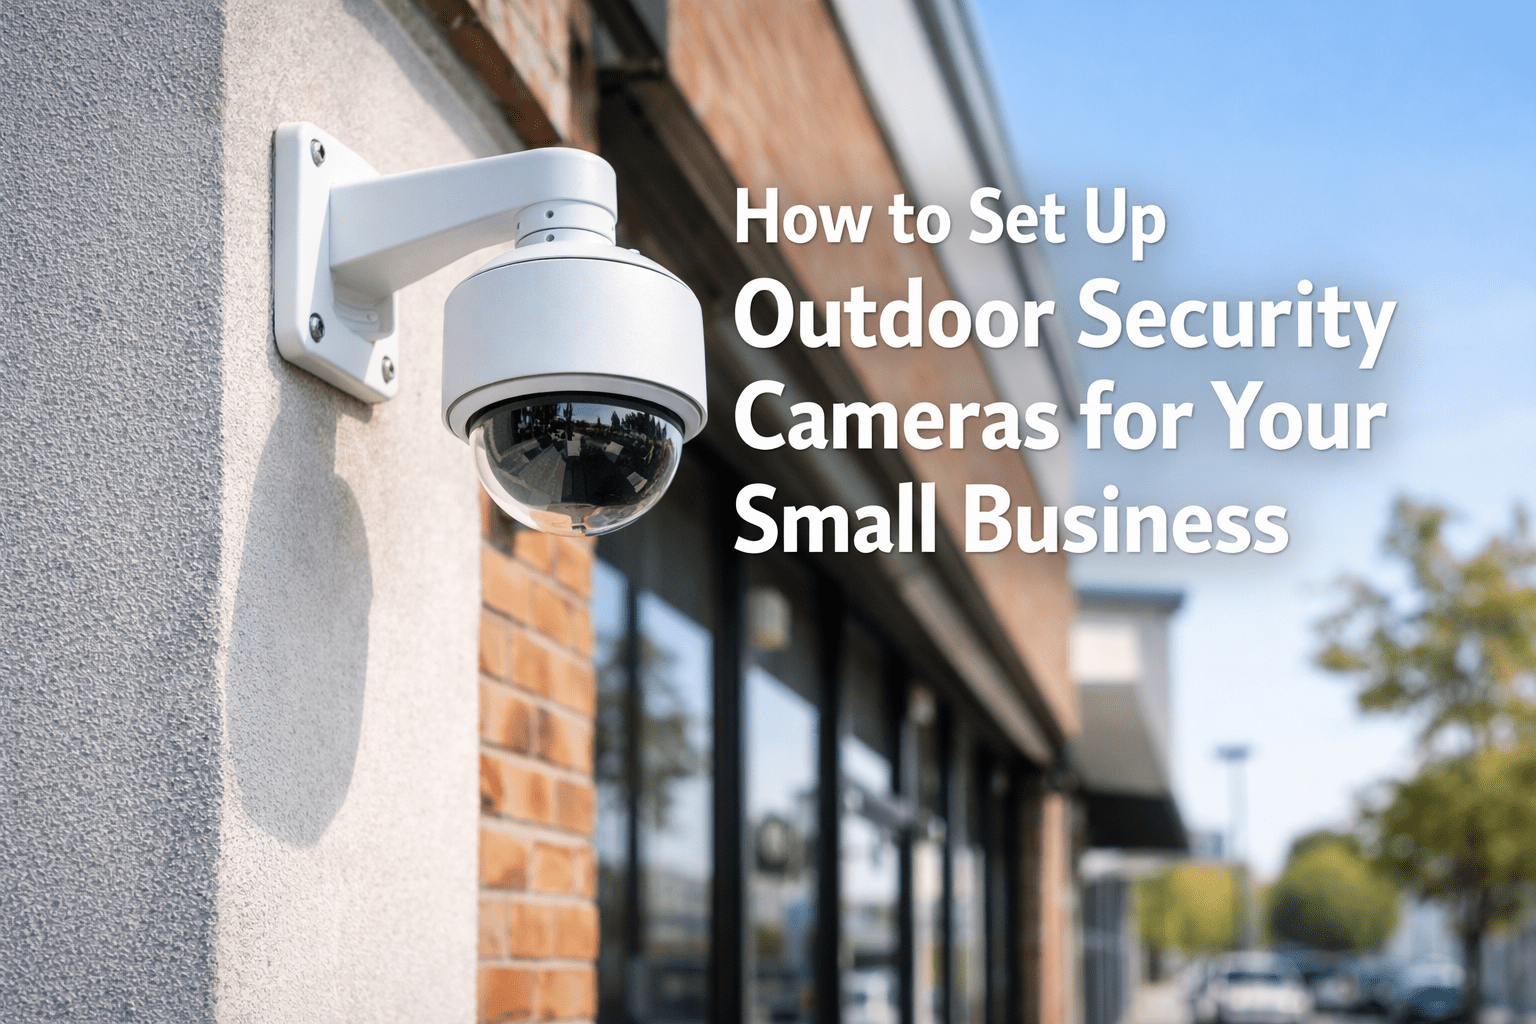
How to Set Up Outdoor Security Cameras for Your Business
Disclosure: This article contains affiliate links. If you purchase through them, we receive a commission at no extra cost to you.
A camera pointed at the wrong wall does nothing. Most small business owners mount one camera above the front door and call it a day — then find out after a break-in that it only captured the back of someone’s head. The right outdoor security cameras for your small business only work if they’re placed right, connected right, and set up to actually record what matters.
This guide covers what to buy, where to mount it, how to connect it, and what to configure before you walk away.
Before you buy
Wired vs. wireless: which one is right for your business
Get it wrong and you’ll either have cameras that drop off your Wi-Fi during the busiest hours, or a wiring job that costs more than the cameras.
Wired (PoE)
PoE stands for Power over Ethernet — one cable carries both power and video to the camera. No Wi-Fi, no battery changes, no signal drops during rush hour. Connects to a central recorder called an NVR (Network Video Recorder) that stores footage locally on a hard drive. Best for restaurants, salons, retail, and any business that needs cameras running 24/7.
Wireless (Wi-Fi)
Connects to your existing Wi-Fi. Easier to install — no cable runs. The tradeoff: performance depends on your router signal, and if your internet goes down, so does remote access. Battery-powered models need recharging every 4–6 months — and they will die at the worst possible moment if you forget. Good for temporary setups or locations where running cable isn’t possible.
Quick rule
If you own the building or have a lease longer than 2 years — go wired. If you rent month-to-month or need cameras up fast — go wireless. Wired systems cost more upfront but have zero monthly fees and no battery maintenance.
What to buy
Recommended outdoor security cameras for small businesses
These are the two systems I install most often in Miami. Both are systems I’ve actually installed — not whatever paid to be mentioned first. If either one had burned a client, it wouldn’t be in this guide.
Placement
Where to mount outdoor security cameras — and where not to
Placement is where most DIY installs fail. The goal is coverage of entry and exit points at a height and angle that captures faces — not just the tops of heads.
Common mistake
Do not point a camera directly at a neighboring business, employee parking area, or anywhere a person has a reasonable expectation of privacy. In Florida, recording audio without consent in a private space carries legal exposure. Stick to your own property perimeter and public-facing areas.
Installation
How to set up outdoor security cameras: step by step
What you’ll need: Your cameras, a drill, a ladder. For PoE systems: a PoE switch or NVR (your central recorder) with built-in PoE ports. For wireless: just your phone and Wi-Fi password.
What most guides skip
The settings that actually matter after install
Set your footage retention to at least 30 days
Most NVRs default to 7 days before overwriting footage. Insurance claims, police reports, and disputes often surface 2–3 weeks after an incident. On Lorex systems, go to Main Menu → Storage → Record → set “Days” to 30. On Ring, open the app → Account → Ring Protect Plan — retention depends on your plan tier. If your hard drive is too small, a 2TB surveillance-grade drive runs about $60 and holds 30 days of 4K footage from 4 cameras.
Change the default password immediately
Every Lorex, Hikvision, and Dahua NVR ships with a default login — usually admin/admin or admin/12345. These are publicly known. Change it before anything else.
For Lorex/wired NVR: Log into your NVR interface → System → User Management → change the admin password.
For Ring: Open the Ring app → tap the three lines (top left) → Account → Account Security → change your password there.
Put your cameras on a separate network from your customers
I’ve walked into restaurants where the owner had $800 in cameras installed and the NVR sitting on the same network as the free customer Wi-Fi. Anyone with a network scanner app — freely available on any phone — could see the NVR on the list of devices. One had never changed the default password. I was looking at their camera feed in under two minutes. It’s not theoretical.
The fix: log into your router (usually at 192.168.1.1 or 192.168.0.1 in your browser) → look for Guest Network or Network Isolation → create a second network and connect only your cameras and NVR to it. This keeps a customer sitting in your dining room from pulling up your camera feed on their laptop. Don’t put it on the same network as your customer Wi-Fi or your POS system. Most modern routers — including the ones from AT&T, Comcast, and T-Mobile — support this under their Guest Network settings.
Quick reference
Outdoor camera setup checklist
The right outdoor security cameras for your small business don’t require an IT team or a big budget. A 4-camera wired system covering your front, rear, and parking area costs under $500 and a Saturday afternoon. That same system gives you footage that insurance companies accept, footage that police can actually use, and the ability to check your business from your phone at any hour. The cameras that sit in a corner pointing at a wall cost the same and give you none of that.
Get the placement right, change the default password, and set your retention to 30 days. While you’re locking down your physical perimeter, make sure your digital accounts have the same protection — here’s how to set up two-step verification on your Microsoft account.